Leadassign Recommends using Zapier and Zapier Webhooks to integrate Facebook lead Ad’s into our platform.
To start you will need a premium Zapier account.
If you are an app customer use the following to get your API key:
https://app.leadassign.com/{company_slug}/apikey (company_slug needs to be adjusted for your company)
Or by going to integrations in the left side bar, and going to the api key at the bottom of the
page.
You will need to post the lead to this URL:
https://app.leadassign.com/extapi/{company_slug}/lead (company_slug needs to be adjusted for your company.)
You can trigger your forms using this url:
https://developers.facebook.com/tools/lead-ads-testing/
To connect to zapier create a new zap and select Facebook Lead Ads:
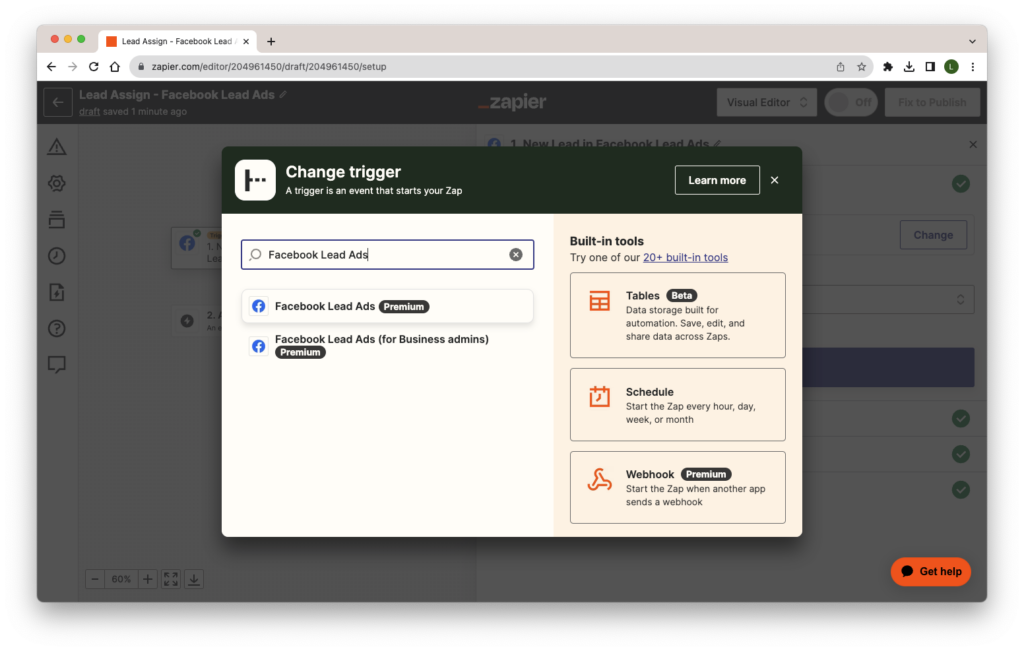
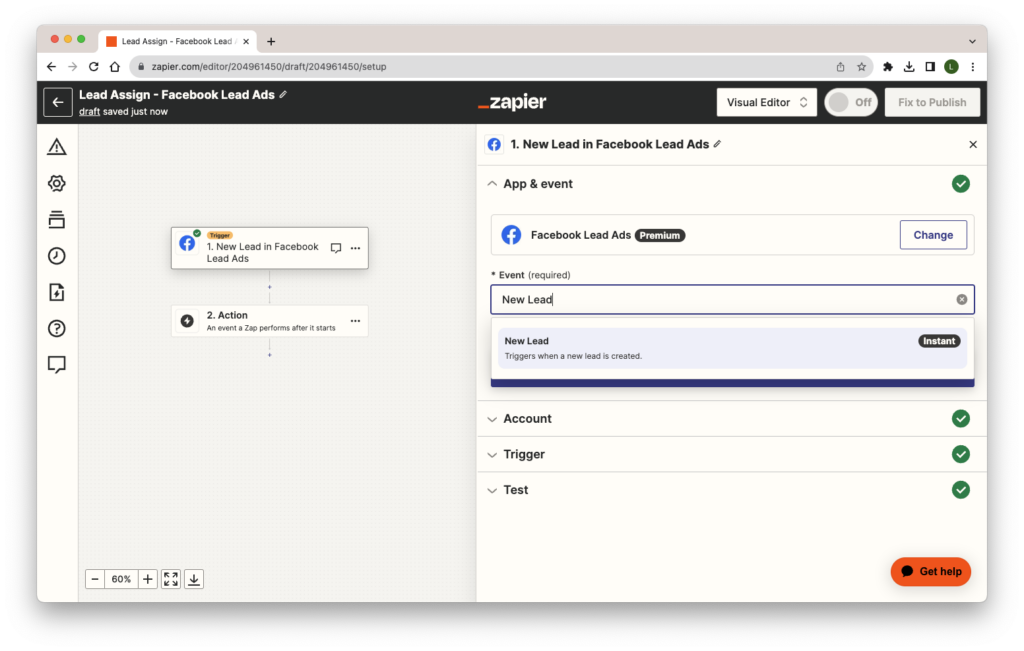
Select the new lead option
You can then select a particular business, and the agent you want to connect as.
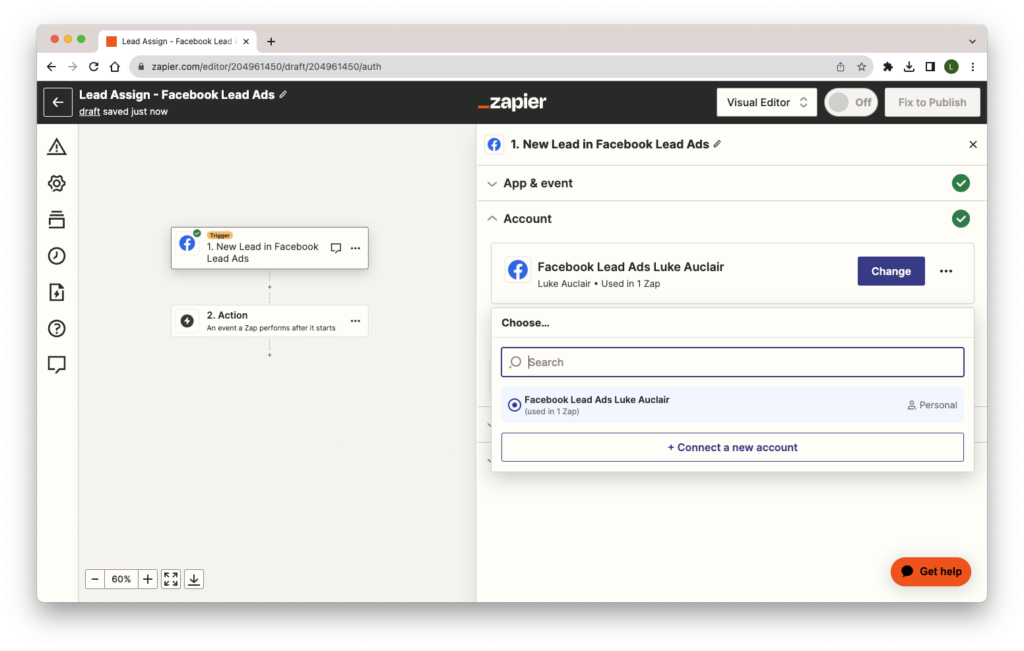
You will need to select the Business Account you want to run leads through.
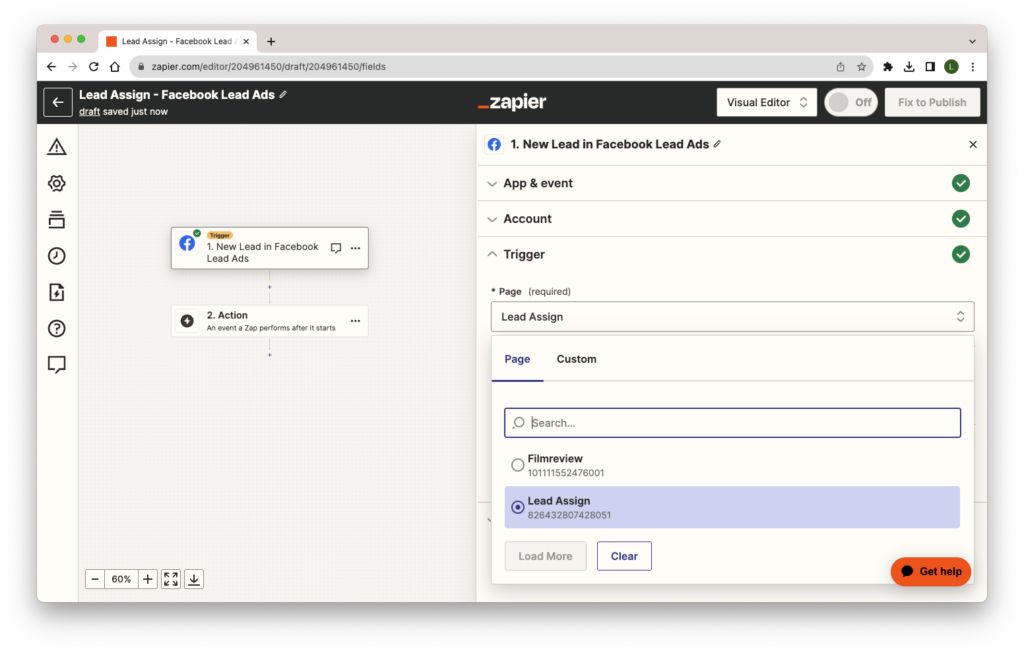
Select the form you want to receive leads from, or “any form” to bring leads in from all pages.

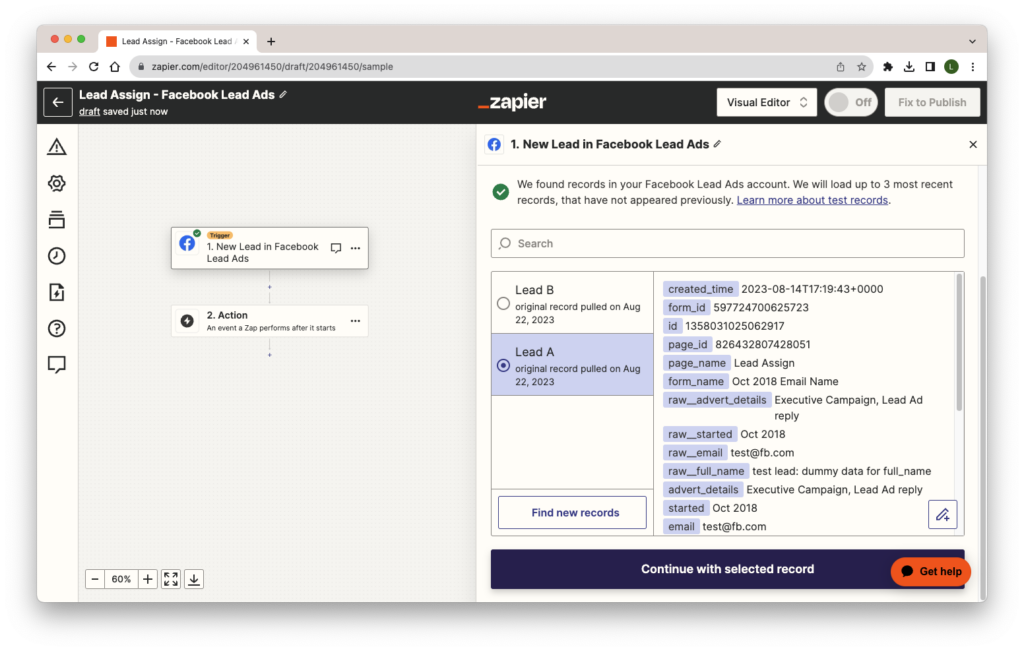
Continue and trigger the form you selected in the previous. section.
This gets you examples of the fields you have access to for setting up the integration
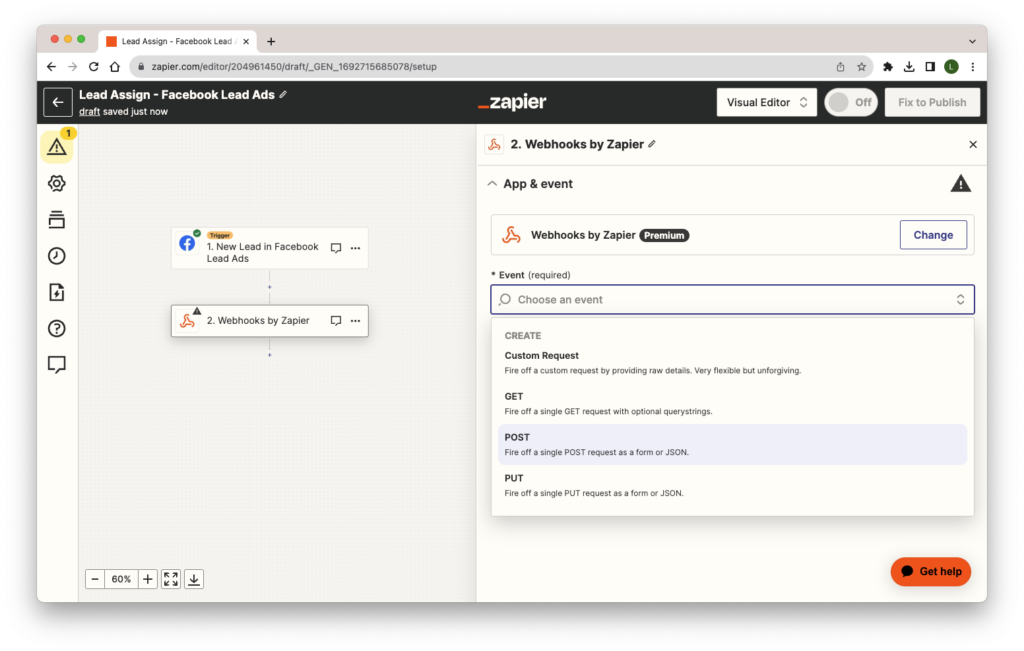
The next step is to add “Webhooks by Zapier”.
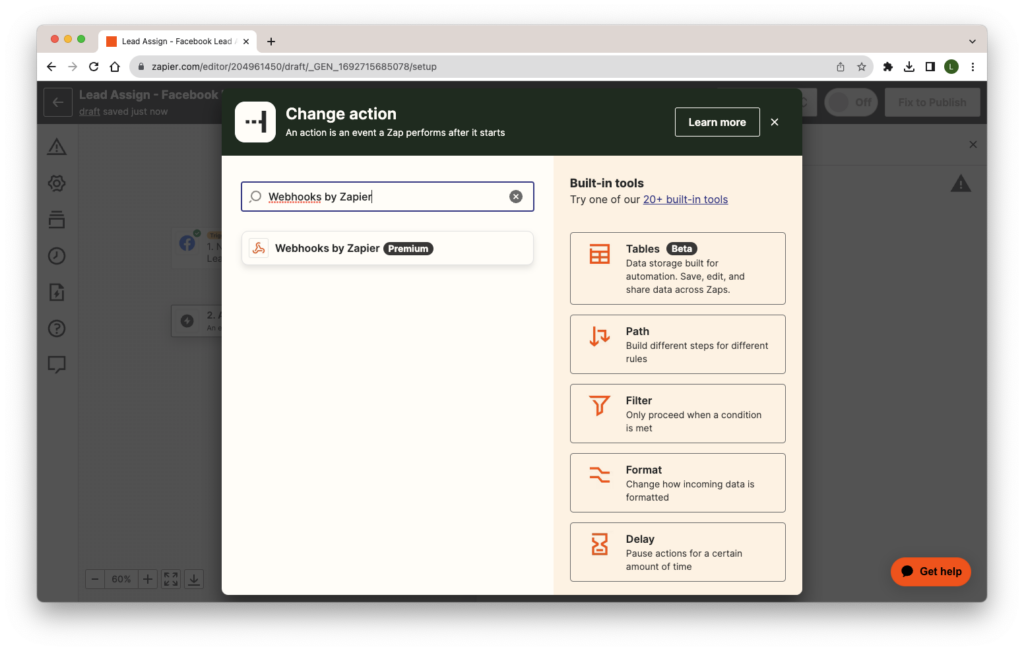
The event in this case will be a post request
Information about our API can be found here: https://leadassign.readme.io/reference/post_-company-slug-lead
In general we require an X-Auth-Token (your accounts api key)
Set your URL to
https://app.leadassign.com/extapi/{company_slug}/lead (company_slug needs to be adjusted for your company.
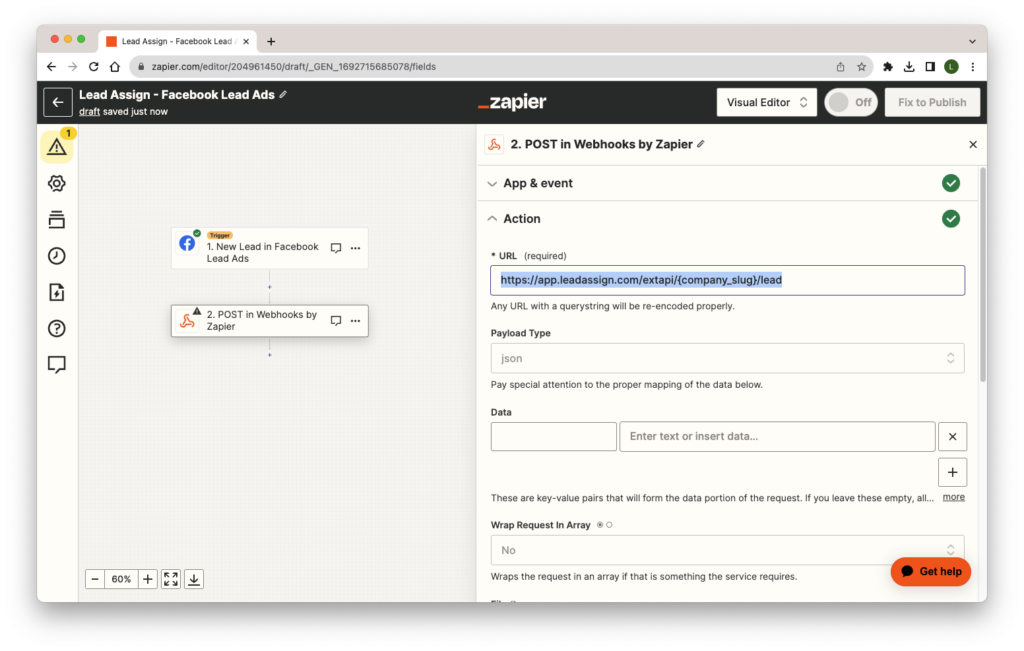
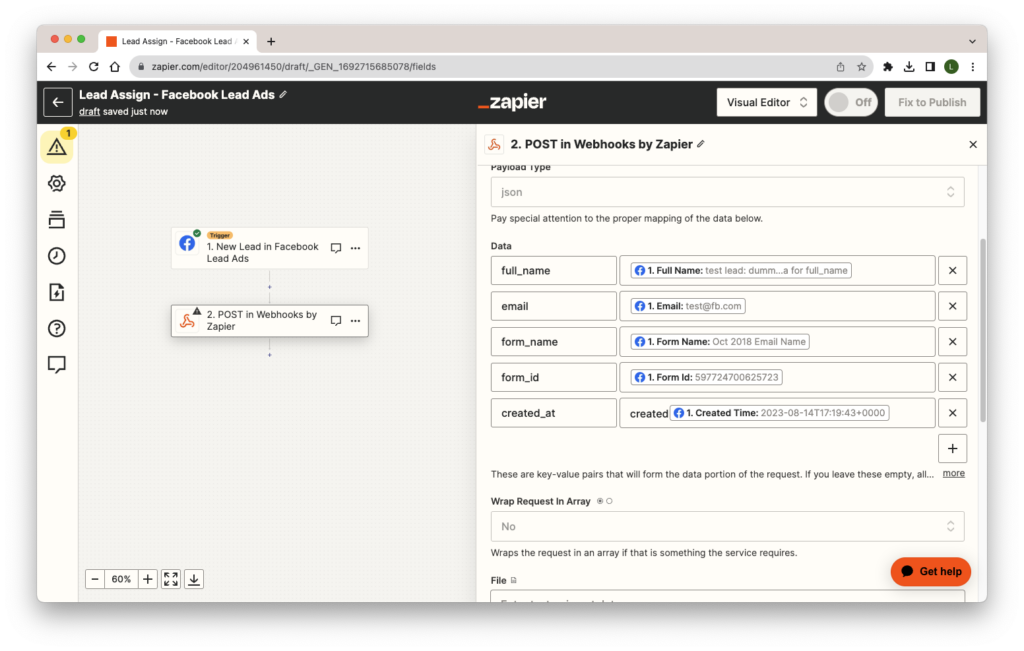
Set the data type to JSON, and fill out the sections like so:
You can add or exclude whatever fields you would like, however name and email are highly recommended.
Set an X-Auth-Token header. Your api key can be found here:
https://app.leadassign.com/{company_slug}/apikey (company_slug needs to be adjusted for your company)
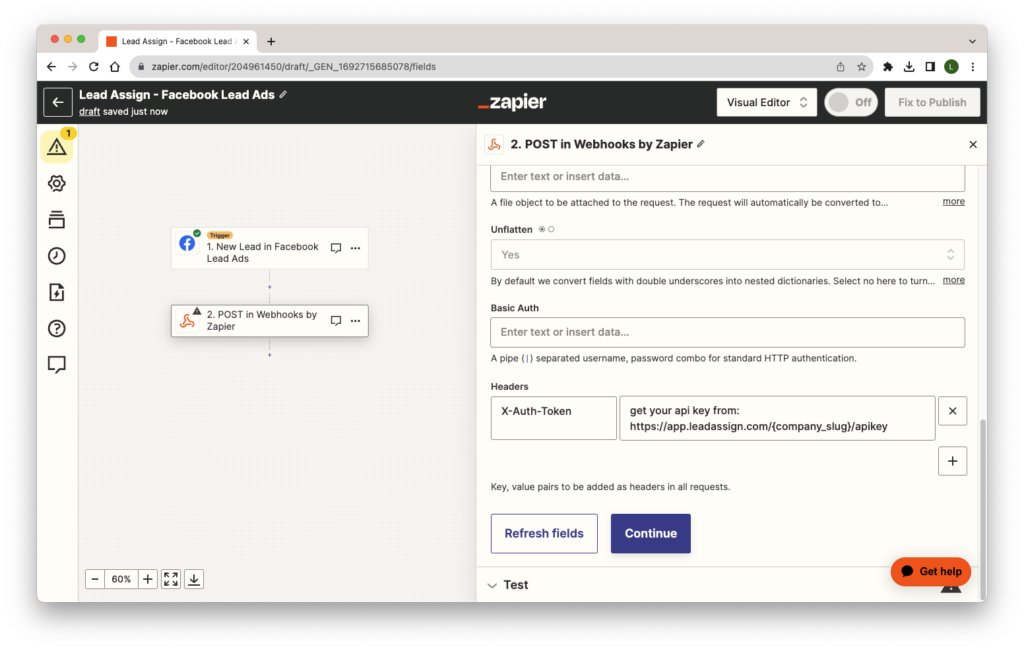
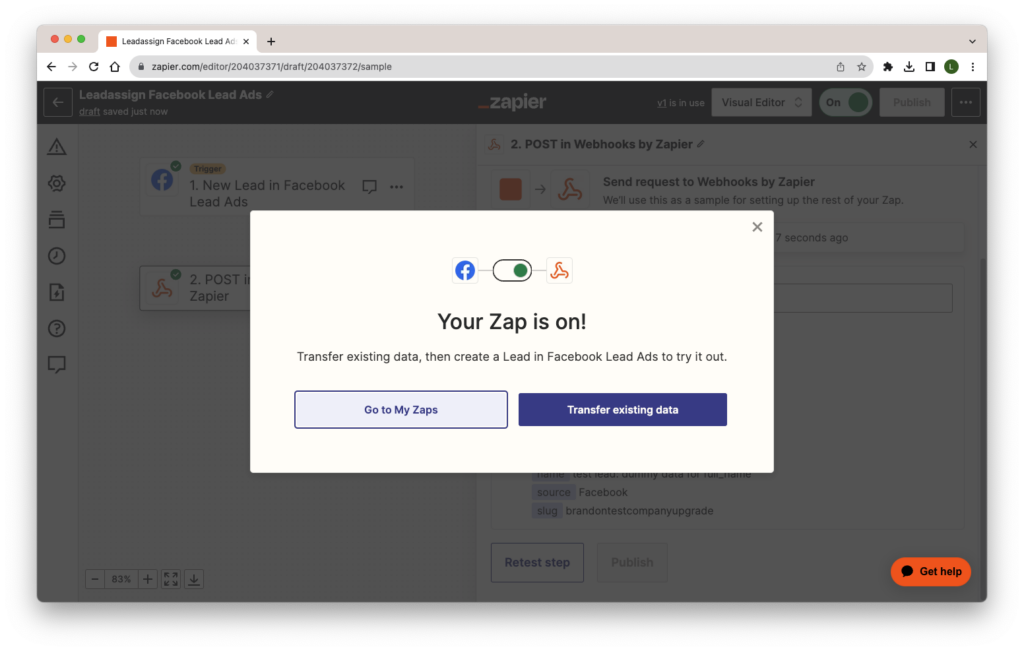
Push continue.
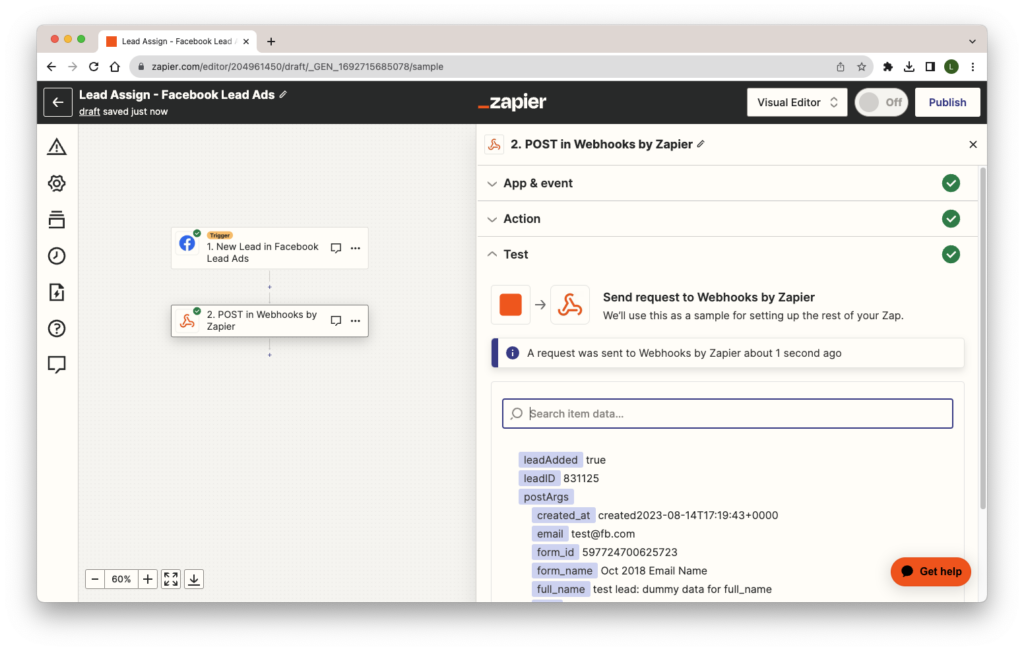
If everything worked correctly you should see something like the following.
You can then publish your app to make it live.