Lead Assign supports two important Zapier actions during the sales process:
- Lead Generation: Leads can be sent into Lead Assign from lead funnels, such as TypeForm, Gravity Forms, or other Zapier lead generation sources.
- Lead Management: After a lead is accept by an agent via Lead Assign, the data is posted into Zapier, including the lead details as well as information regarding the agent who accepted the lead. This can be inputted into a CRM system under the agent’s account.
Using Zapier to add leads into Lead Assign
Integrating Zapier allows companies to connect services, such as GoogleForms, TypeForm, and other various CRM or lead generation systems into Lead Assign using API without requiring a programmer. An administrator can set up Zapier with a trigger, such as GravityForms or TypeForm, etc. by choosing Lead Assign as the action.
Authentication
For authentication, the company slug and API key is required.
Log into the company’s Lead Assign account, and the company slug will be located in the URL. For example, if a company was called “ABC Company,” the company slub would likely be abc_company.
The API key is located after the company slug in the URL. For example: https://app.leadassign.com/company_slug/apikey/.
If this space is empty, press “Generate” to create a new API key. Note: Generating a new API key will stop other API integrations from working.
Usage
Follow the standard Zapier steps, test the company’s authentication using the company slug and its API key, and then proceed to generate leads using the company’s form. All fields are optional; however, be aware of the formatting so that Lead Assign can correctly route the incoming lead.
Testing
When you test your zap, A REAL LEAD will be sent through your account. You can make sure that lead routes to you in lead assign so that you don’t bother your sales agents with a new lead. If you need extensive testing, create a new Lead Assign account just for testing purposes.
You will likely need to use a ‘Zapier Invitation’ to use the Lead Assign Zapier tool.
Simply click this link to get an invite to use this zap!
Use Zapier on ‘Lead Accept’ to populate a CRM or other task in Zapier
Head over to your Zapier account and start a new Zap.
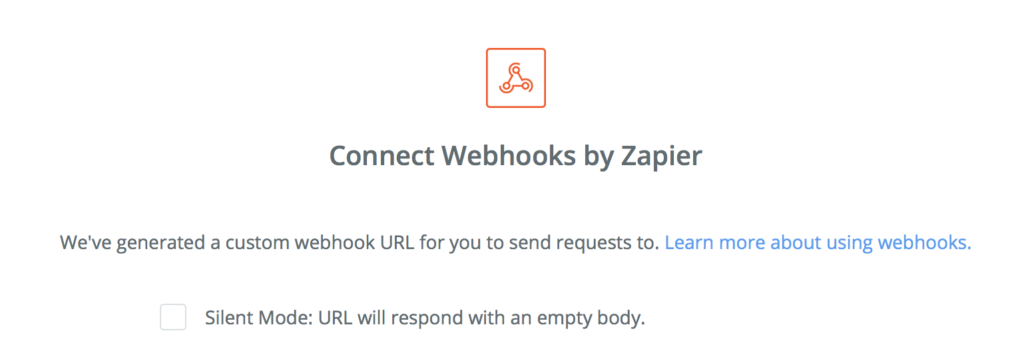
Create a ‘Catch Hook’ trigger. This is a standard Zapier built component. You don’t use the Lead Assign Zapier tool.
As you follow Zapier to configure the Catch Hook Trigger, you will see a screen with a URL that you need.
Copy the URL from Zapier and head over to your lead assign account.
https://app.leadassign.com/your_company_slug/webhook
Enter a Lead ID in the lead field for a recently ACCEPTED lead (see your leads page) and the URL you copied from Zapier and press submit. This will send information about the lead to zapier, imitating what will happen when an agent accepts.
Once your ‘Zap’ is programmed and you like it, you can put it into production with by pasting the POST URL from the Zapier Catch Hook trigger into the forward accepted fields for the admin, or for agents on a one by one basis. You can email and push data through by separating the POST URL with a comma from other email addresses.